Friday, November 9, 2012

doggie days

Last Friday I left town for Utah to visit two of my children and someone who's been my dearest friend for 30+ years.
Sadly, I didn't have any hand work to take with me.  But then I was driving, so it wasn't a problem...until the evening came.  At that point, I really wanted something to busy my hands.  Fortunately, right next door to the restaurant where we were eating on Saturday night, I spied a beautiful sight - a business with the title The Fabric Mill.  And even more glorious was the neon sign in the window shining that great word of happiness, "OPEN".

Inside I found just what I needed - hemstitched flannel blankets, crochet cotton, crochet edging patterns, and hooks!  And so here's what I bought and did...


I love the story of the Poky Little Puppy.  During storytime in kindergarten, when it was my day to choose, I ALWAYS chose this book and thrilled at the chance to turn the pages when the record played it's signaling "ding".  In spite of his naughtiness, how could you not love that little face?


Each kit came with a blanket and burp cloth.  I only crocheted the blanket, but here's a look at the burp cloth so that you can see the hemstitching holes.

I bought pattern Packet #2 of four.  It was so hard to choose just one!

 And here's what I will be working on next....

Soon I will post the Christmas quilt I'll be making for my daughter.  Today I begin cutting out the pieces that American Quilting in Orem so kindly sold to me.  Another lovely Utah find.

Friday, November 2, 2012

picnic quilt

This is the second quilt that I've designed (first one blogged here).  There's a good chance that there are other quilts out there which are similar; but as of yet, I haven't seen them.  So for now, I'm calling it an original (bubble bursting most likely to follow!).

Most of the fabrics I used are from my favorite line, Flea Market Fancy, by none other than......get ready......you saw it coming......Denyse Schmidt!

As you can see, the center is a four-square.  The next step is a court house step with the fabric in that step repeated throughout. The next step is a log cabin.  Easy!

In this photo, the wind was blowing a little (I promise that my lines are not that crooked!).

The backing fabric was chosen by how perfectly it represented the idea of a "picnic quilt" - plus it will camouflage grass stains quite nicely!

The quilting pattern is Baptist Fans (*heart*) stitched by my friends at J'Adore Quilting.

This quilt took a little longer to piece because I had to perform major surgery before I was happy with it.  Originally, I did not have corner squares in the sashing; there were just long strips of grey. But once it was finished, it looked like race tracks (especially with the white dashes in the fabric) as well as the grey overpowering the quilt.  So I cut out each intersection and added in the contrasting squares.  Well worth the time because when it was done.....true love.

It's now ready to have ketchup, mustard, and soda spilled all over it!

P.S. Discriminating viewers will notice that the first photo shows the quilt upside down. Oopsie!

Tuesday, October 30, 2012

pattern purchasing tips

Sale alert!
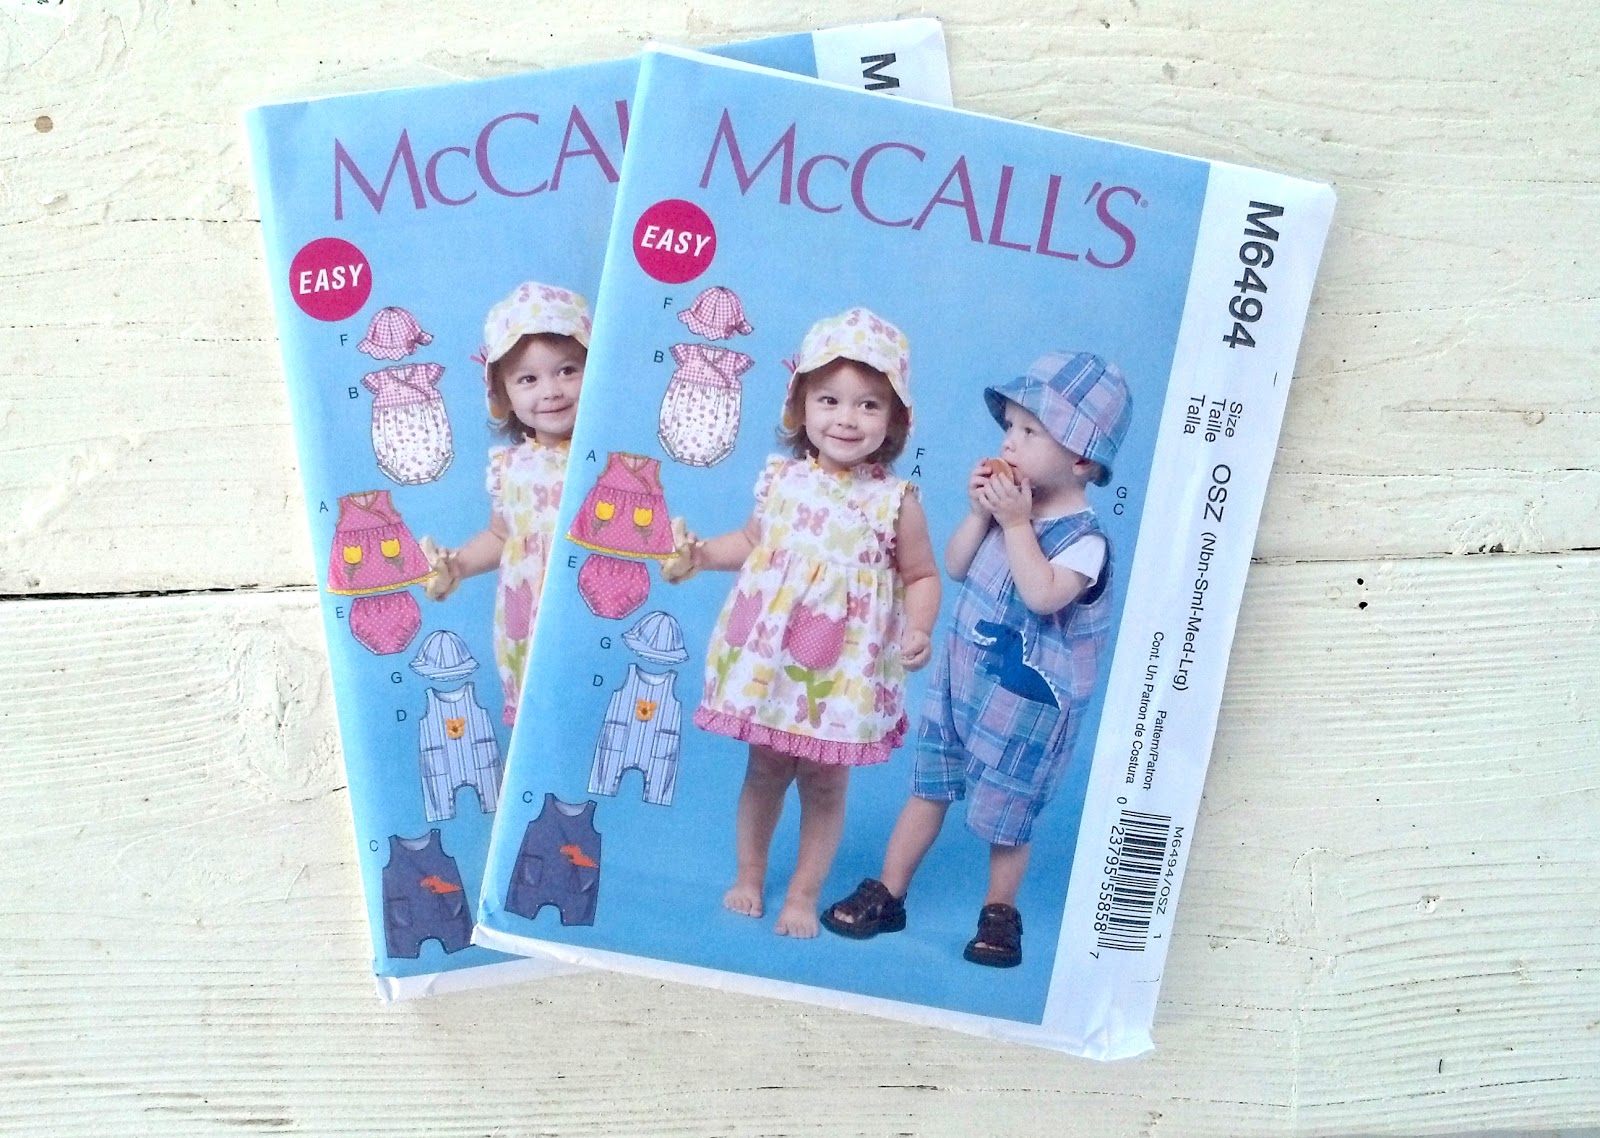
JoAnn's Fabrics has McCalls patterns for only $1.29.
That's right.  One dollar and twenty-nine cents!!!

When patterns are this cheap, I can buy two (or three, or four...) of the same one and then not have to worry about saving cutting lines when I want to make more than one size. Yay!


With nearly all patterns, you cannot judge the possibilities by the cover -  which is why I posted a snippet of the back of the pattern.

My advice is to use the picture on the pattern front to see if you like the garment fit, but use the drawing on the pattern back to see if you like the garment style.  If you try to make your decision on whether or not to buy a pattern based on the fabrics the pattern makers chose, you will most likely leave the store missing tufts of hair empty handed! 

I've decided not to make the ruffles as wide as shown (too bulky),  I will definitely put sleeves on the girls dress/romper, and I won't be making the boys romper at all (funky fit). But the final green light for purchasing this pattern were the back buttons.  Zipper closures on children's clothing are bulky and scratchy, and I don't understand using them as a back closure AT ALL.  Have you ever seen a zipper on the back of a Janie and Jack outfit?  Point proven.

P.S.  I know that we're in winter, but wouldn't the dress be cute in pinwale corduroy with a long sleeved t-shirt behind it? The romper will just have to wait until spring!


Friday, October 26, 2012

whirligig quilt

The Santa Ana's are blowing today....which means I'm sneezing.
But that's not my point.
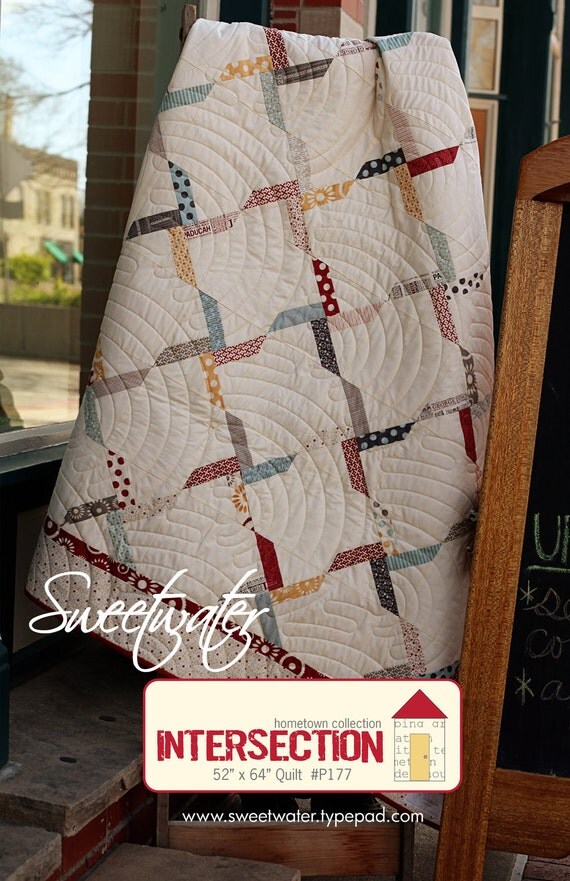
Now that we have these warm winds stirring things up a little, it's the perfect day to blog about this quilt.  See the pinwheels?  Can you imagine them happily spinning? That's why I chose to have air currents stitched on this quilt .... okay, it's a pattern called wandering spiral, not air currents .... but it looks like air currents, doesn't it?  Maybe I'll name this quilt "Ode to Santa Ana"!
I love the color of red I found for the binding.  It's actually more of a scarlet red color - and a little less bright than it photographed .  So hard to describe but perfect just the same.  The blue fabric is a Kona solid.  The print fabric is Flea Market Fancy by Denyse Schmidt (yes, her name appears in my blog once again!) .


FYI:  If you see me post a picture of a rolled quilt, it's a sure sign that it's going to take a trip somewhere....


The pattern is called Intersection by Sweetwater.  And although I do like the quilting design used on the pattern sample, I wanted something denser so that would crinkle a little more after washing.

 Intersection Pattern


If you are a certain someone reading this post, it's now October.  That means a little something is going to be arriving in your mailbox soon.   Perfect timing now that you've had your first snow!


Wednesday, October 24, 2012

a gently stated quilt


I'm inexplicably drawn to a certain style of patchwork that is found in Japanese craft books and magazines.  It's an understated look - low contrast, usually with delicate fabrics. When I saw this line of fabric, Woodland Trails by Riley Blake, I decided to try my own version of that style with this quilt.


I did have to add a couple of other fabrics to the 3 charm packs I had purchased - I didn't realize that Riley Blake doesn't put as many squares in a charm pack as Moda does. But now I know to pay attention to that little number on the back of the package!

The pattern is called Smitten by Rachel Griffith.  It's pictured with a white background, but wanting my background to blend more with the blocks for the look I was after, I chose beige with white dots instead.


I love the strip layers around the edge of the quilt.  These are not part of the line and I can't remember now who manufactures them.  They are tiny checks that read as a solid unless you're looking closely.  The backing fabric is one of Denyse Schmidt's lovelies and was purchased at JoAnn's.  I chose leaves as the quilting pattern to complement the outdoorsy, animal fabrics.


When our family went on vacation to Yosemite this past August, I took this quilt along to sew on the binding while we drove.  Once I finished it, my little grandson used it to lay on to watch Stuart Little (a movie he simply calls "mouse").
I think it's a sweet quilt and quite love it.


Tuesday, October 23, 2012

It's a match!

I've had my eye on this sewing project for quite a while and last night finally got to stitching it. Truth be told, I needed something to work on to distract me while I watched/listened to the presidential debates.  They soooo stress me out.  Because I want my guy to do well, I'm on pins and needles until it's over.


This project is from The Purl Bee and is titled Emily's Memory Game.
Since the fabric squares are 2 1/2", it is a perfect project for those who have leftover
... quilting word alert ...
jelly rolls strips.


I only made half of the recommended squares because I didn't have enough of the white wool on hand to make more.  Fortunately, today I found an etsy seller who can enhance my depleted supply.


One change I made to the pattern was to use iron-on adhesive between the top and bottom squares so that they wouldn't try to slide around while sewing them together.  Another change was to zigzag through all of the layers instead of just the top two. And finally, an obvious change was that I used blue as the backing instead of white.  Not sure I like the stitches showing on the blue; but I knew if I'd used white as the pattern suggested, the squares wouldn't be munchkin-hand friendly.


I had in my crafting stash the perfect box to store the game in (probably either from Hobby Lobby or Michael's).  See, Honey. I do eventually put this stuff to use!
I simply washed the box in blue acrylic paint and sealed it with Mod Podge.  The decorative paper was modged to the bottom so that it was less likely to be peeled up by those little prying hands that we all know will attempt to get to that bee!


I think I'm drawn to memory games (see this post) because when I was young, my mother would play Concentration with me over and over and over again. We'd take turns laying out the 52 playing cards on the living room floor and chat while we tried to memorize the location of the face-down cards.  I remember winning a lot of those matches.  Having been a mother to young children myself, I now know why.  *wink*

Monday, October 22, 2012

Here's my finished Halloween wall hanging........displayed on the entry dresser.
I still haven't figured out the best way to get these things onto the wall!!
(P.S. Love that binding!)


Thursday, October 18, 2012

vintage Halloween

What I hope to accomplish today is quilting this Halloween wall hanging.  We all know that October will be over in about 10 minutes! And yes, I've procrastinated.
The darling kitty and pumpkin images are vintage card designs printed onto fabric. The website that sells them also offers the wall hanging pattern for free (and we love free)!  You can find this pattern, and others, here.


If someone didn't want to pay the $ for the images, I think just appliqueing some Halloween designs would work well... but then I've never appliqued, so proceed with caution!
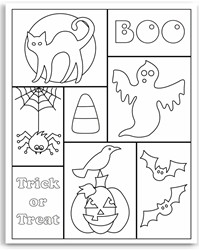
Here is where I found some free designs - this collage page being my favorite.

free halloween coloring pages

The fabric I'll use for my binding has a bright green background with black spider webs.  Creepy cute!

Lil' Dude done

I wanted to post some pictures of a quilt I made last year but had only blogged a picture of the quilt top.  It is one of my favorites and one of my firsts.


The fabrics were mostly ones I had on hand.  A couple of the background beige fabrics a sweet friend shared with me.  It's been used for a year and is getting that snuggly feeling that a good quilt should have....especially one intended for a little buckaroo.

The free pattern is Fredericksburg by Karen Witt and found here.
Finished size is 37x37.

Previous post on this quilt

Wednesday, October 17, 2012

off-beat practicality

While at quilting class a few weeks ago, I spied an interesting color of green fabric on sale.  I snatched it up and off I went in search of something ... funky ... to coordinate with it.  Upstairs I discovered a fabric with piggy banks on it.  **Piggy banks!!!**
When I came downstairs with my duo, my quilting teacher's eyebrow raised ever so subtly.  Even though not a word was uttered,  I could tell that I might be out on a limb.  I decided the success of my quest depended on finding just one more fabric.  Something somewhat serious that said, "Don't worry.  I know what I'm doing."  And black with greyed white dots spoke those very words to me.


At that moment, I knew what I was making.
I don't want to call them "hot pads" or "pot holders".  Far too functional.  So I'll be Shakespearean and make up my own word like ... warmies.  Let's try it.
"Hey, Honey.  Can you grab me the warmies?"
Hmmmm.
This is going to take a little more thought.  Any ideas?


Sorry about the peek-a-boo element to the photos.  I plan on writing a pattern for all four and will show the other two when I do.  Hopefully I can figure out how to link a pdf file to my blog before we all ring in the new year.  My goal is to make some for all of my family members as Christmas presents this year (if you are a family member reading this, sorry I didn't issue a spoiler alert!).

FYI:  The inside batting is Insul-Bright, and the finished size for all four is 9.5 inches.  I didn't put a little loop in the corner so that they would look better if used on the table underneath a hot dish.
The set quilted with vertical lines is simply stitched the width of my walking foot.  The other set was quilted with outline stitches.